To build an incident timeline, start by gathering detailed data from witnesses, logs, and videos, ensuring everything is in chronological order. Use a timeline tool to visually map key events like detection, response, and containment, backing each entry with solid evidence. Add supplementary information such as emails or system notes to fill gaps. Cross-check all data for accuracy, then analyze the timeline to identify vulnerabilities. Continue to explore this guide for effective step-by-step instructions and tips.
Key Takeaways
- Collect detailed incident data from witnesses, logs, and reports, ensuring chronological accuracy.
- Use a visual timeline tool to input key events, timestamps, and involved parties systematically.
- Incorporate supplementary evidence like system logs and communication records to fill informational gaps.
- Cross-verify entries with original sources to ensure completeness and accuracy of the timeline.
- Analyze the finalized timeline to identify vulnerabilities, attack patterns, and support forensic investigations.

An incident timeline builder is a powerful tool that helps you organize and visualize events leading up to, during, and after an incident. When managing an incident, precise incident reporting is essential for understanding what happened and for supporting forensic analysis later on. Building a clear timeline ensures that every detail is documented systematically, making it easier to identify root causes and prevent similar issues in the future.
An incident timeline builder streamlines event documentation for effective investigation and forensic analysis.
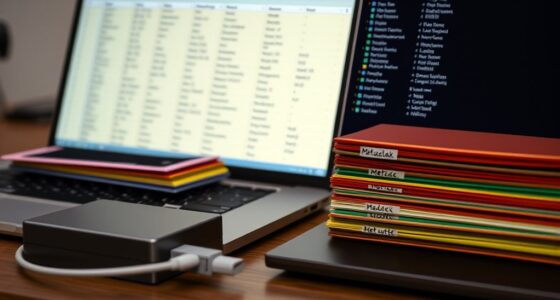
To start, gather all available information related to the incident. This includes reports from witnesses, security footage, system logs, and any other relevant data sources. The incident reporting process should be thorough, capturing timestamps, locations, involved parties, and descriptions of actions or anomalies. As you compile this information, focus on chronological accuracy—precise timing helps establish a sequence of events that can be critical during forensic analysis. Remember, the more detailed your incident report, the clearer your timeline will be.
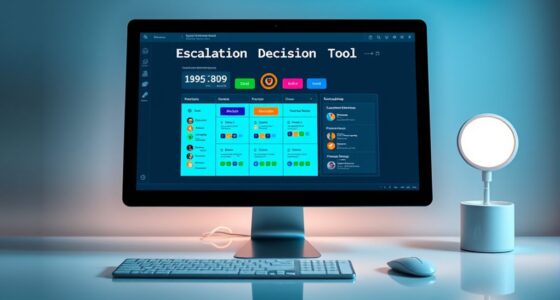
Next, input this data into your incident timeline builder. Many tools allow you to create visual timelines that display events along a chronological axis. Use these features to mark key moments, such as the initial detection of the incident, any containment actions, and subsequent investigations. This visual approach enables you to see the incident’s progression at a glance, highlighting patterns or correlations that might not be obvious from reports alone. As you build the timeline, ensure each entry is backed by solid evidence, which will be invaluable during forensic analysis to verify the authenticity and sequence of events.
As you refine your timeline, consider integrating additional data points like system logs, email records, or communication exchanges. These details can help fill gaps and provide context, making it easier to reconstruct the incident accurately. A well-constructed timeline not only supports incident reporting but also serves as a foundation for forensic analysis. When investigators examine the timeline later, they can quickly identify anomalies, trace the attack path, and understand the incident’s scope.
Finally, review and verify your timeline for completeness and accuracy. Cross-check entries against original incident reports and data sources. An accurate, thorough timeline enhances your ability to analyze the incident thoroughly, identify vulnerabilities, and implement corrective measures. Incorporating mindfulness techniques during this process can help maintain focus and detail orientation, ensuring no critical information is overlooked. By following this step-by-step approach, you ensure your incident timeline builder becomes an effective tool—transforming scattered data into a clear narrative that guides investigation, supports incident reporting, and strengthens your security posture.
Frequently Asked Questions
Can the Timeline Builder Handle Multiple Incident Types Simultaneously?
Yes, the timeline builder can handle multiple incident types simultaneously. You can manage incident overlap by categorizing each event properly, ensuring clear differentiation between incident types. This helps you visualize how incidents interact over time, even if they happen concurrently. Proper incident categorization allows you to track multiple incidents efficiently, giving you a thorough view of the overall situation without confusion.
Is There a Way to Customize the Timeline for Different Industries?
Think of the timeline as a tailor-made suit that fits your industry like a glove. You can customize it using industry-specific templates and a range of customization options, ensuring it reflects your unique needs. These features allow you to shape the timeline to match your sector’s nuances, making your incident documentation more precise and relevant. With this flexibility, your incident timeline becomes a powerful, industry-tailored tool.
How Does the Builder Integrate With Existing Incident Management Systems?
The builder integrates seamlessly with your existing incident management systems through system integration features, allowing you to connect various platforms effortlessly. It guarantees data synchronization by automatically updating incident details across all systems, keeping everything consistent and current. You simply configure the integration settings, and the builder handles the rest, providing real-time updates and reducing manual input. This streamlined process helps you manage incidents more efficiently without disrupting your current workflow.
Can Users Collaborate on Building and Editing Incident Timelines?
Yes, you can collaborate on building and editing incident timelines. The builder supports collaborative editing, allowing multiple users to work together in real-time. User permissions control who can view, edit, or comment, ensuring secure and organized teamwork. This feature streamlines incident management by enabling seamless coordination, reducing delays, and enhancing accuracy in documenting incident details. You’ll find it easy to work together effectively with these built-in collaboration tools.
What Are the Best Practices for Verifying Timeline Accuracy?
To verify timeline accuracy, you should perform source verification by cross-checking details against reliable records and reports. Guarantee chronological consistency by reviewing the sequence of events to confirm they follow a logical order. Regularly update your timeline with new information, and involve team members for fresh perspectives. This approach helps prevent errors, maintains credibility, and assures your incident timeline remains accurate and trustworthy throughout the investigation process.
Conclusion
Now that you’ve built your incident timeline, think of it as assembling a puzzle. Each piece—every event—fits together to reveal the full picture. Remember, missing even one piece can leave you with an incomplete story, just like a puzzle with gaps. By following this step-by-step guide, you’ll navigate complex incidents smoothly, ensuring nothing falls through the cracks. With a clear timeline, you’ll piece together the story and uncover the root cause, like completing a perfect puzzle.